I pulled the materials together this weekend to build the prototype for my screen. I had to learn a little about the materials and the tools since I haven't done arts and crafts in forever.

I used a school guillotine to cut a large posterboard into four panels of the correct size. It's a little rough to use when you're cutting things thicker than a couple of sheets of paper, so I would suggest keeping an X-Acto knife to clean up the edges. I don't have one, but I should have one, so I'll buy one before I do the real job.

I decided on unobtrusive white Duck tape to seal the edges. It worked well. I used scissors to cut the pieces to the right size.
Here's a practice board I taped to make sure the tape would work the way I wanted it to. It worked perfectly.
Place the tape sticky-side up on the table, and carefully line up the board halfway up the width of the tape. Press down firmly. Then fold the tape over the top, rather than flipping the board. Then cut the excess folded-over tape off with scissors.
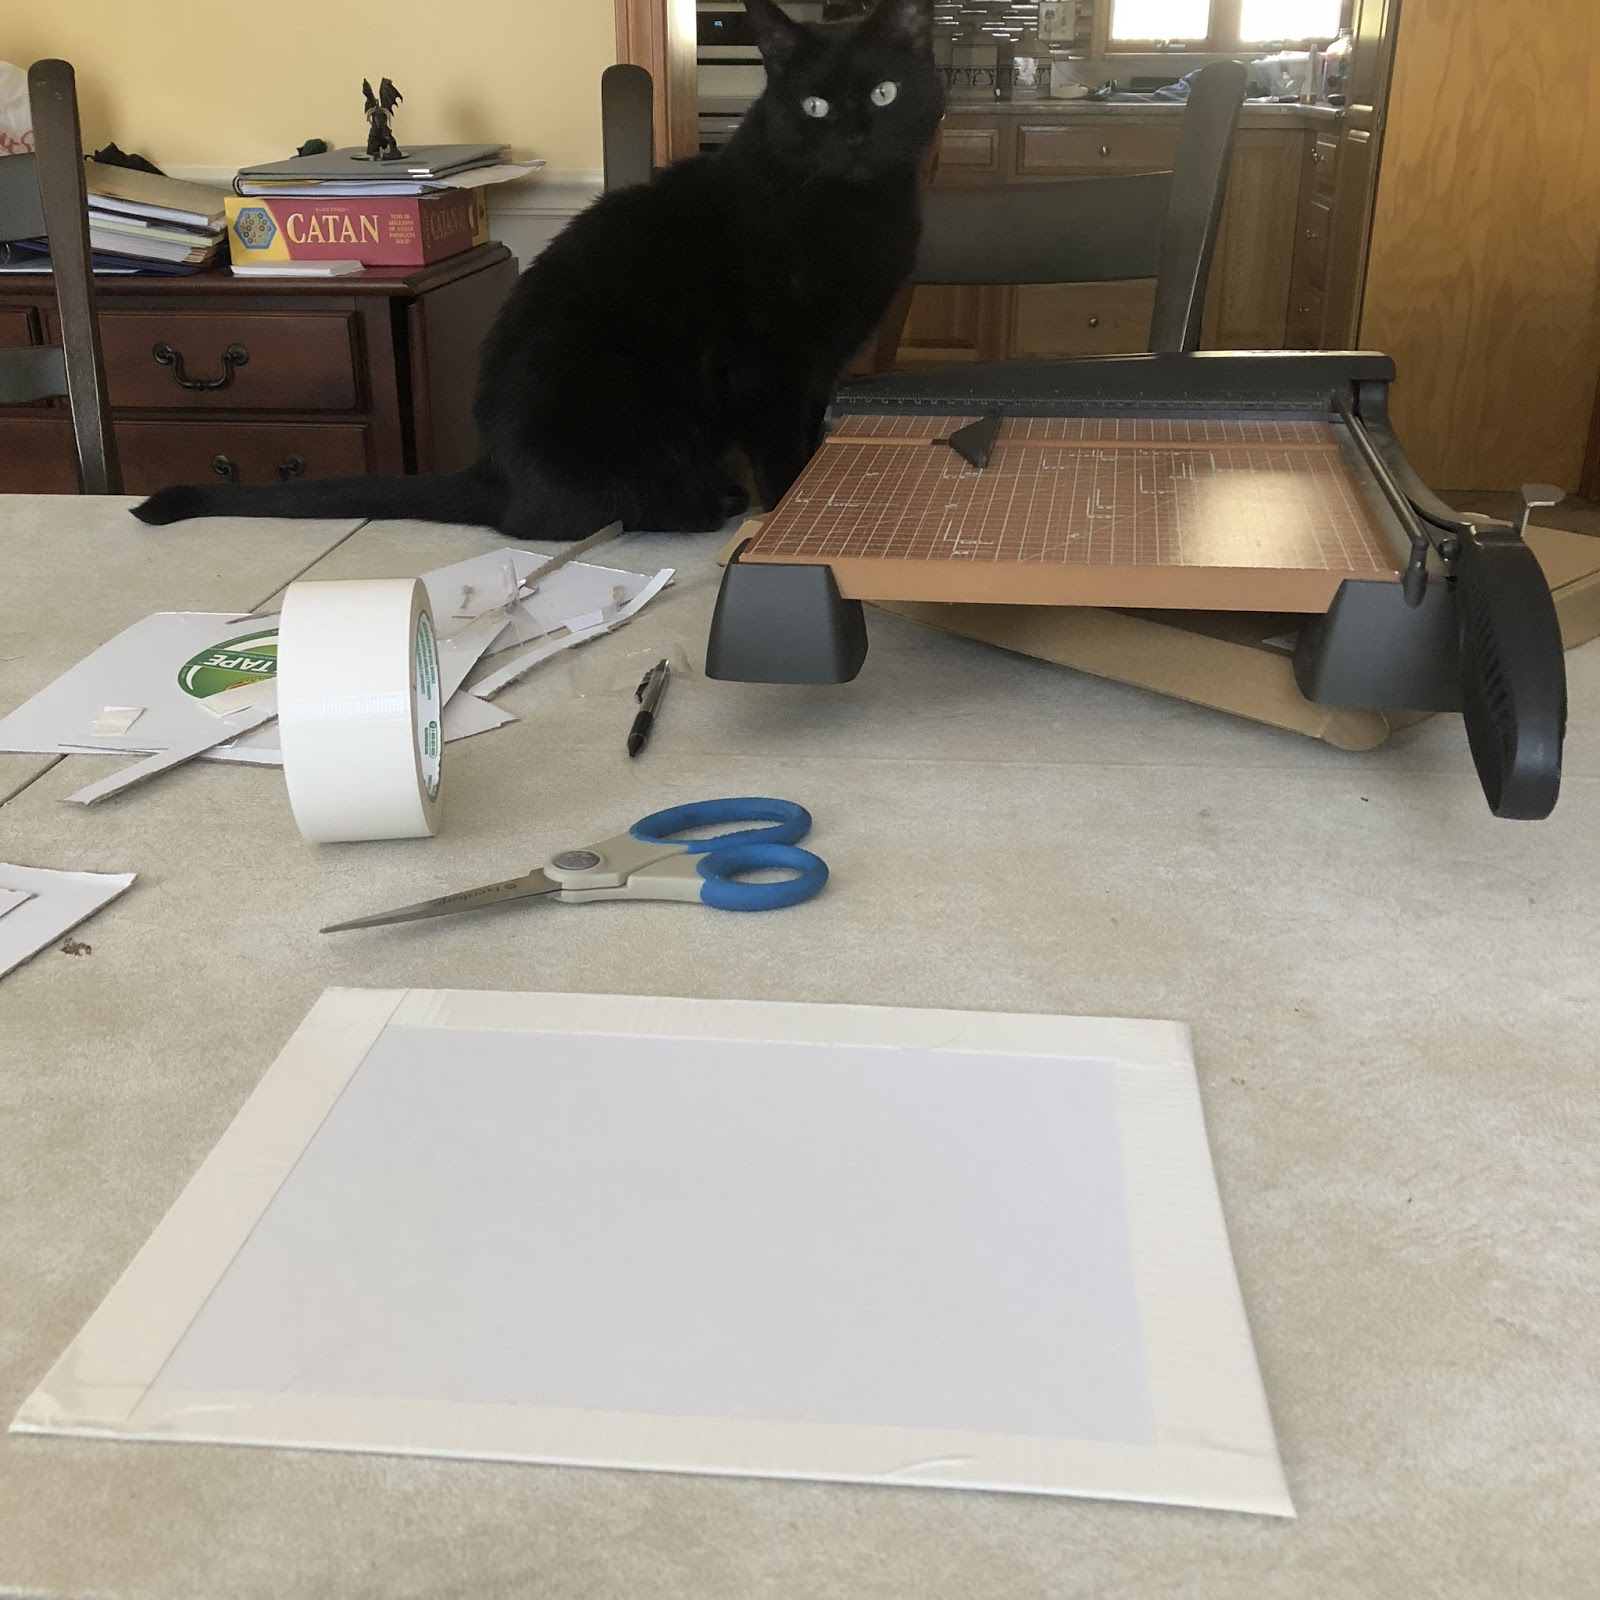
ALSO PICTURED: My assistant, Tinkabelle.

Here, you can see a board pressed on half the tape, prior to being folded over.

Linking the panels:
Once your four boards are sealed along all four edges with tape, make sure the commercially-machined part of the four panels are all aligned on the bottom edge, closest to you. This will allow the screen to stand up without wobbling when it's done.
Lay down a piece of tape longer then the long edge of the boards. Press each one about 40% of the way in on it, leaving a gap of about 1/8 of an inch. Then fold the extra tape over the top and bottom. Repeat for the other side of the boards with another piece of tape.

By leaving the small gaps between boards, the hinges can open at various angles, including laying flat.
The final product:

Here's the Ref's side. To the second panel, I'll paperclip the map. To the third, I will paperclip the map key. To the fourth, I'm not sure, but probably the specific wandering monster charts for the dungeon or world we intend to tackle in that session.
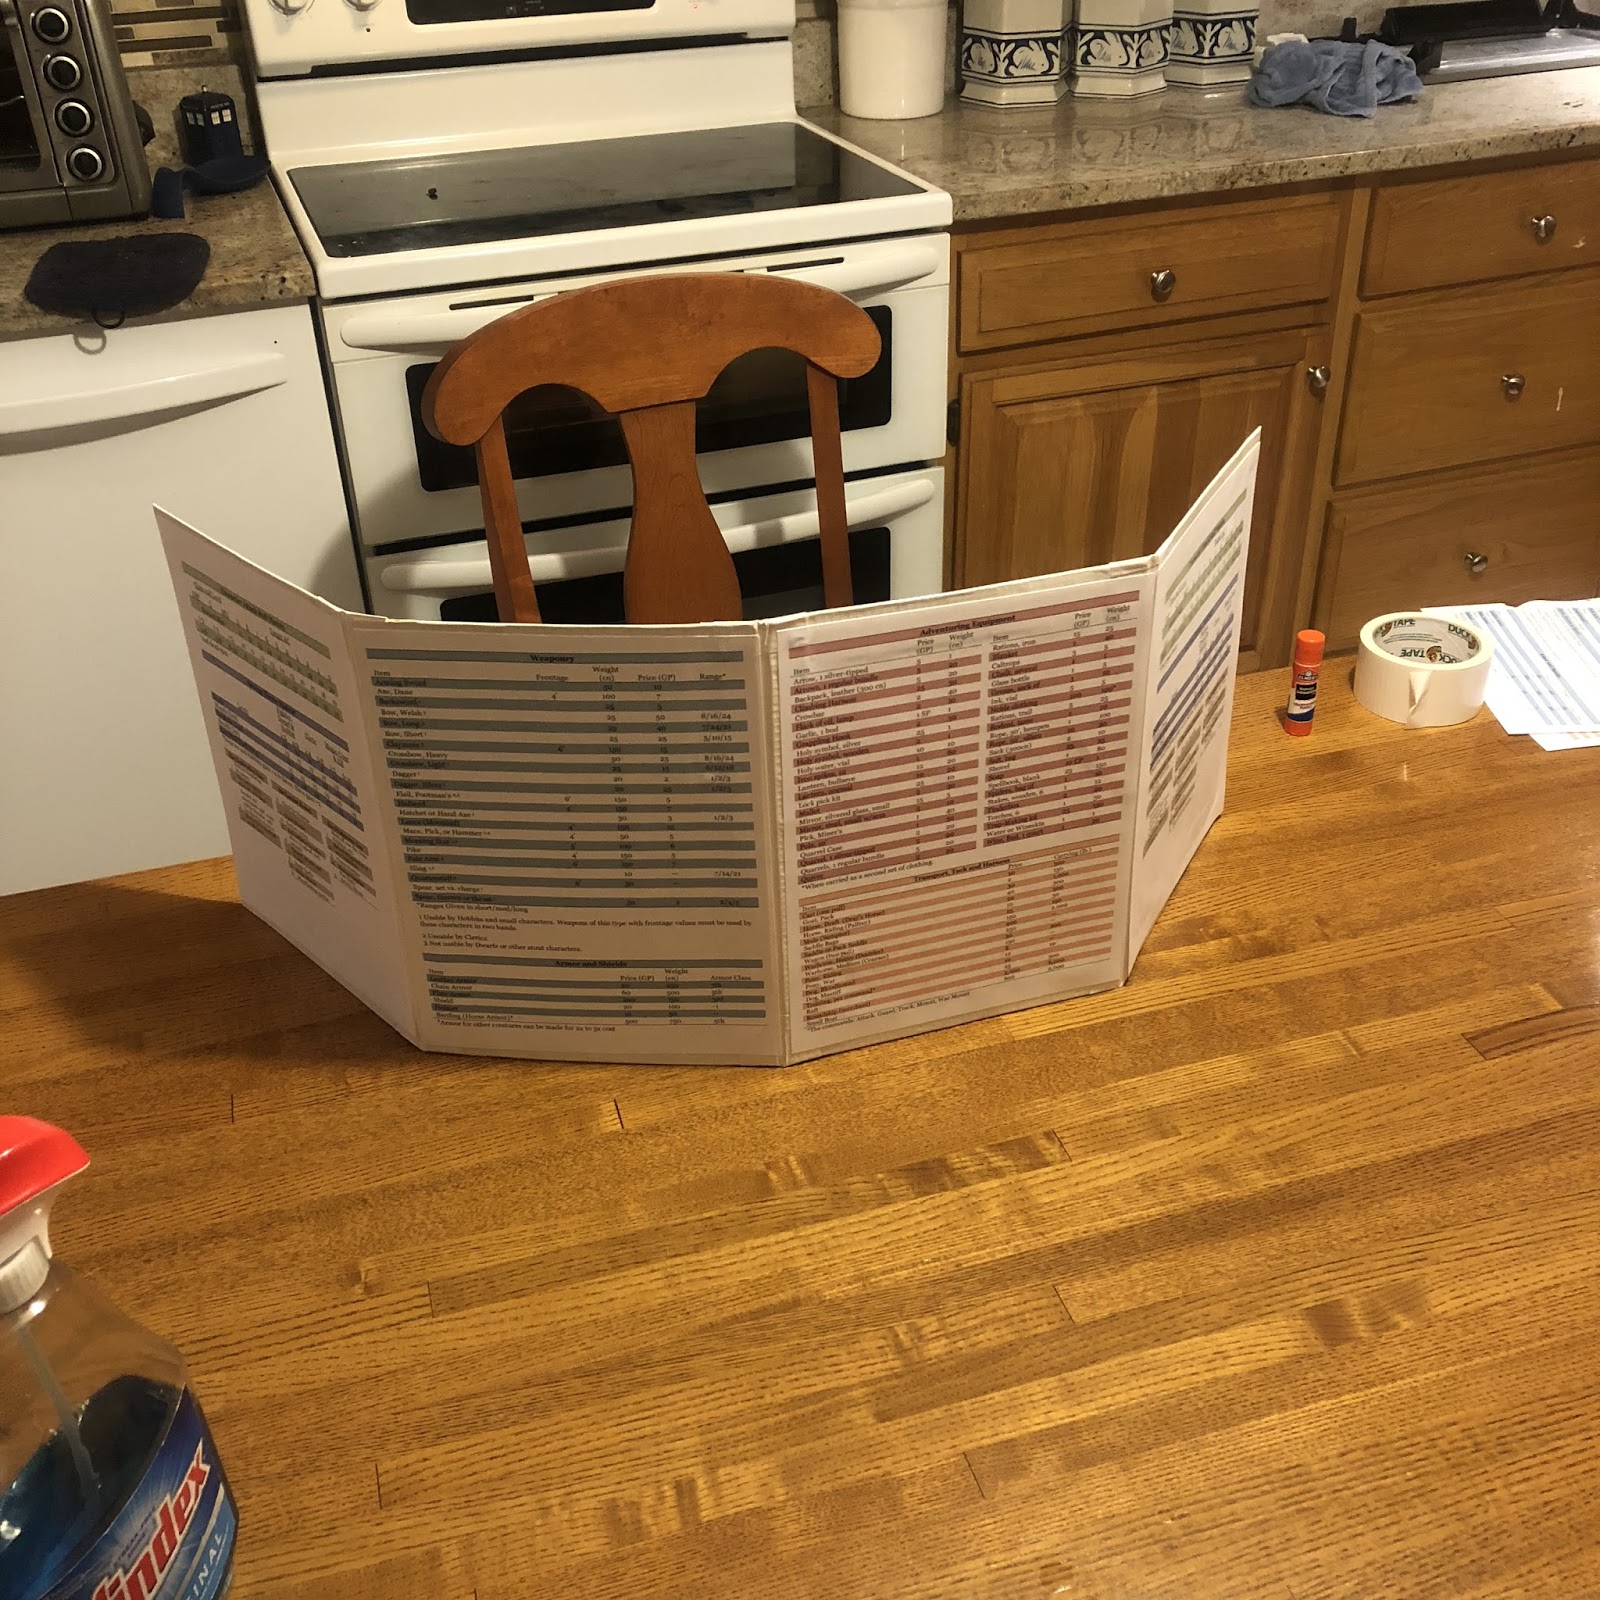
Here's the player side. Panels 1 and 4 are the same: they have the attack and save matrices for the classes, and then the procedures for Rounds, Turns and Days.
The middle two panels are info for purchasing and using weapons, armor, adventuring equipment, tack and harness, and vehicles.
I did it like this because the character sheets and gen rules I use are so simple, the main differentiation between two characters of the same class is the gear they carry. So gear is very important!
I wanted to find a place to add alchemical and special purchase items, but they wouldn't fit on these panels. And anyway, I think it would be cooler if I whip out special lists when the several players come upon stores with unusual merchandise.
I made these sheets at Staples because they can print on special really good paper, and the ink is even and clean. You can email them docs to print out for you and then pick them up. Very nice.

The screen folds up flat so you can jam it in your binder or whatever. I suggest putting clear contact paper over it once you're happy with the contents of your panels.
So this was a really big success, and the final product is going to please me quite well.
PROPS: The tape is awesome. It works perfectly. Just as I'd imagined - maybe better.
SLOPS: Make sure you know how to use a grade school guillotine's little ruler dealie before you start cutting stuff! My panels came out a good inch short on each side because I couldn't use the ruler properly. I will do it right when I made the final screen.
No comments:
Post a Comment